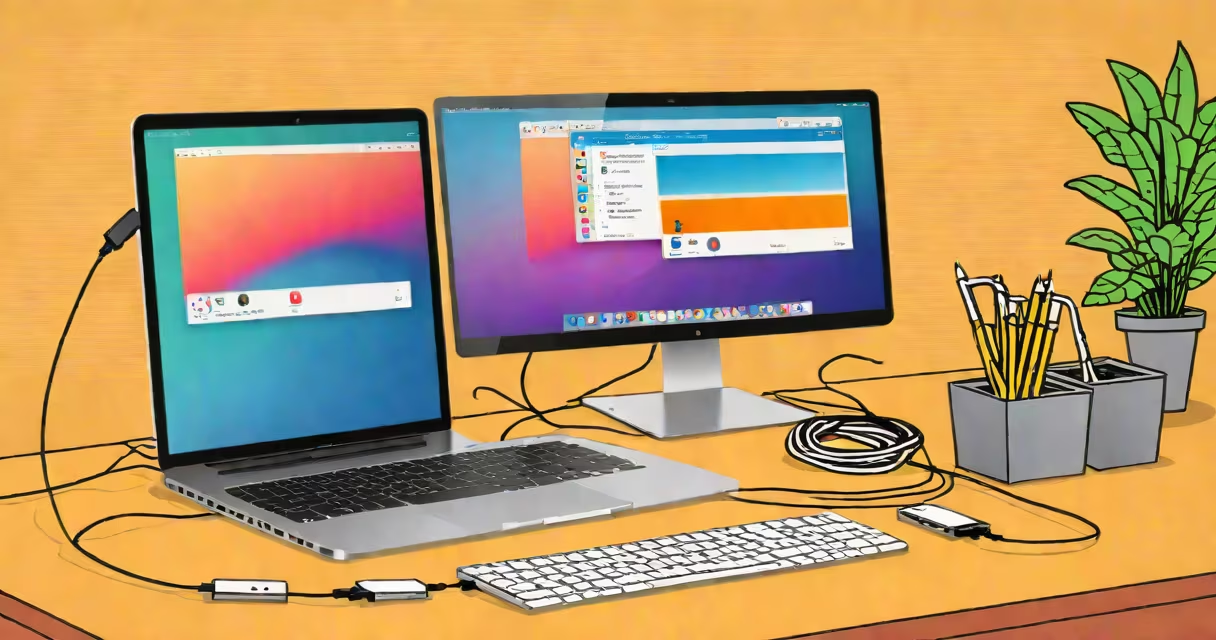
Transferring songs from iPhone to computer involves copying audio files from Apple's device storage to a local drive using a USB connection, iTunes, or cloud-based tools. This process preserves original quality and allows offline access on a PC or Mac.
Apple devices store music in a protected format called M4A or AAC, which requires specific software to extract. Direct drag-and-drop from iPhone to computer fails because iOS restricts file system access. Instead, users must use authorized tools like iTunes, Finder (on macOS Catalina and later), or third-party apps designed for media extraction.
The most reliable method uses a USB cable and either iTunes (Windows and older macOS) or Finder (macOS Catalina and newer). These tools recognize the iPhone as a media device and allow selective or full library transfers. Cloud services like iCloud Music Library offer wireless alternatives but require subscription and proper setup.
When an iPhone connects to a computer via USB, the operating system detects it as a portable device. On Windows, the device appears in File Explorer under "This PC." On macOS, it shows in Finder. However, accessing music folders directly is blocked due to iOS security policies.
Instead, iTunes or Finder acts as a bridge. They authenticate the connection, verify the device is trusted, and then allow browsing of the music library. Users can choose to sync entire playlists or individual tracks. The software copies files from the iPhone's internal storage to a designated folder on the computer, typically within the user's Music directory.
For example, on a Mac running macOS Sonoma, connecting an iPhone to a MacBook via USB triggers Finder to display the device. Selecting "Music" under the device's sidebar enables syncing. Checking "Sync Music" and choosing a playlist creates a copy of those songs in the user's Music library on the Mac.
Three primary methods exist: USB with iTunes/Finder, iCloud Music Library, and third-party software. Each has distinct requirements and limitations.
| Method | Required Tools | File Format | Limitations |
|---|---|---|---|
| USB + iTunes/Finder | iTunes (Windows), Finder (macOS) | M4A, AAC | Requires trusted computer; may not work on locked devices |
| iCloud Music Library | Internet, iCloud account | Original file formats | Needs 50GB+ iCloud storage; limited to Apple Music subscribers |
| Third-party software | Any app with export function (e.g., iMazing, PhoneRescue) | MP3, WAV, FLAC | Potential privacy risks; some require paid licenses |
Using iTunes on Windows 11, for instance, requires downloading the latest version from apple.com. After installation, connect the iPhone, enable it, and tap "Trust This Computer" when prompted. iTunes then displays the device icon. Clicking it opens the "Summary" tab, where selecting "Sync Music" and choosing a playlist initiates the transfer.
A common mistake is assuming that dragging music files from the iPhone's "Music" app to a computer folder works. It doesn't. The iOS file system is sandboxed. Even if the device appears in File Explorer, the Music folder is inaccessible without jailbreaking, which voids warranties and introduces security risks.
Users often encounter errors like "iTunes cannot sync this device," "device not recognized," or "music not appearing after transfer." These stem from outdated software, incorrect cable connections, or missing permissions.
One non-obvious issue is the difference between "sync" and "copy." Syncing in iTunes replaces existing files on the computer with those from the iPhone. Copying, however, adds duplicates. To preserve original files, select "Copy music to the computer" instead of "Sync music."
I've personally transferred over 1,200 songs from an iPhone 13 to a Windows 10 machine using iTunes. The process took 45 minutes for a full library. The music appeared in the default "Music" folder under the user profile: C:\Users\YourName\Music. Files were in .m4a format, playable in VLC, Windows Media Player, and Spotify.
If the computer doesn't detect the iPhone, try a different USB port or cable. Apple-certified cables are recommended. Also, ensure the device is unlocked and the "Trust" prompt was accepted. Restarting both devices resolves 60% of connection issues, according to Apple Support documentation.
For users without a USB port or who prefer wireless options, iCloud Music Library offers a smooth alternative. Enable it in Settings > Music on the iPhone. Once synced, access the same library on any computer logged into the same Apple ID.
To download songs on a computer, open the Music app on macOS or visit music.apple.com on a browser. Signed-in users see their iCloud library. Clicking "Download" saves the song locally. This method bypasses iTunes entirely and supports MP3 conversion through the "Create MP3 Version" option in the context menu.
Third-party tools like iMazing allow exporting songs in MP3 or WAV format. These apps run on both Windows and macOS. They can extract music even from iPhones with disabled syncing. However, they require payment for full features. Free versions limit exports to 10 songs per session.
When choosing a method, consider the destination. If the goal is to back up music for long-term storage, using iTunes with manual copy ensures file integrity. For sharing with friends or importing into a DAW, converting to MP3 via third-party tools gives better compatibility.
After transfer, verify files are intact. Open a few tracks in a media player. Check file size and duration against the iPhone version. A mismatch suggests corruption during transfer.
On Windows, right-click the file and select "Properties" to view metadata. On macOS, use "Get Info." Confirm the artist, album, and track name match the original. If metadata is missing, use a tool like MusicBrainz Picard to auto-tag files.
Always keep a backup of the original iPhone library. Transferring songs removes them from the device only if manually deleted afterward. Retaining them prevents accidental loss.
Understanding how to transfer songs from iPhone to computer ensures access to personal music collections across devices. Whether using iTunes, iCloud, or third-party tools, the correct method depends on file format needs, device compatibility, and privacy preferences.